

(Ignore the “posted by Alison Burtt” at the bottom of this post – this is Ali’s husband, Doug.)
When I first moved into my (now our) condo unit, I had already been landline-free for two years, and had no intention of going back to a landline phone. The unit was built in the mid-80s, however, and therefore still had legacy wall phone jacks. The wall jacks in the kitchen and bedroom are still flush with the wall and can be easily worked around. The wall jack in the living/dining area, on the other hand…

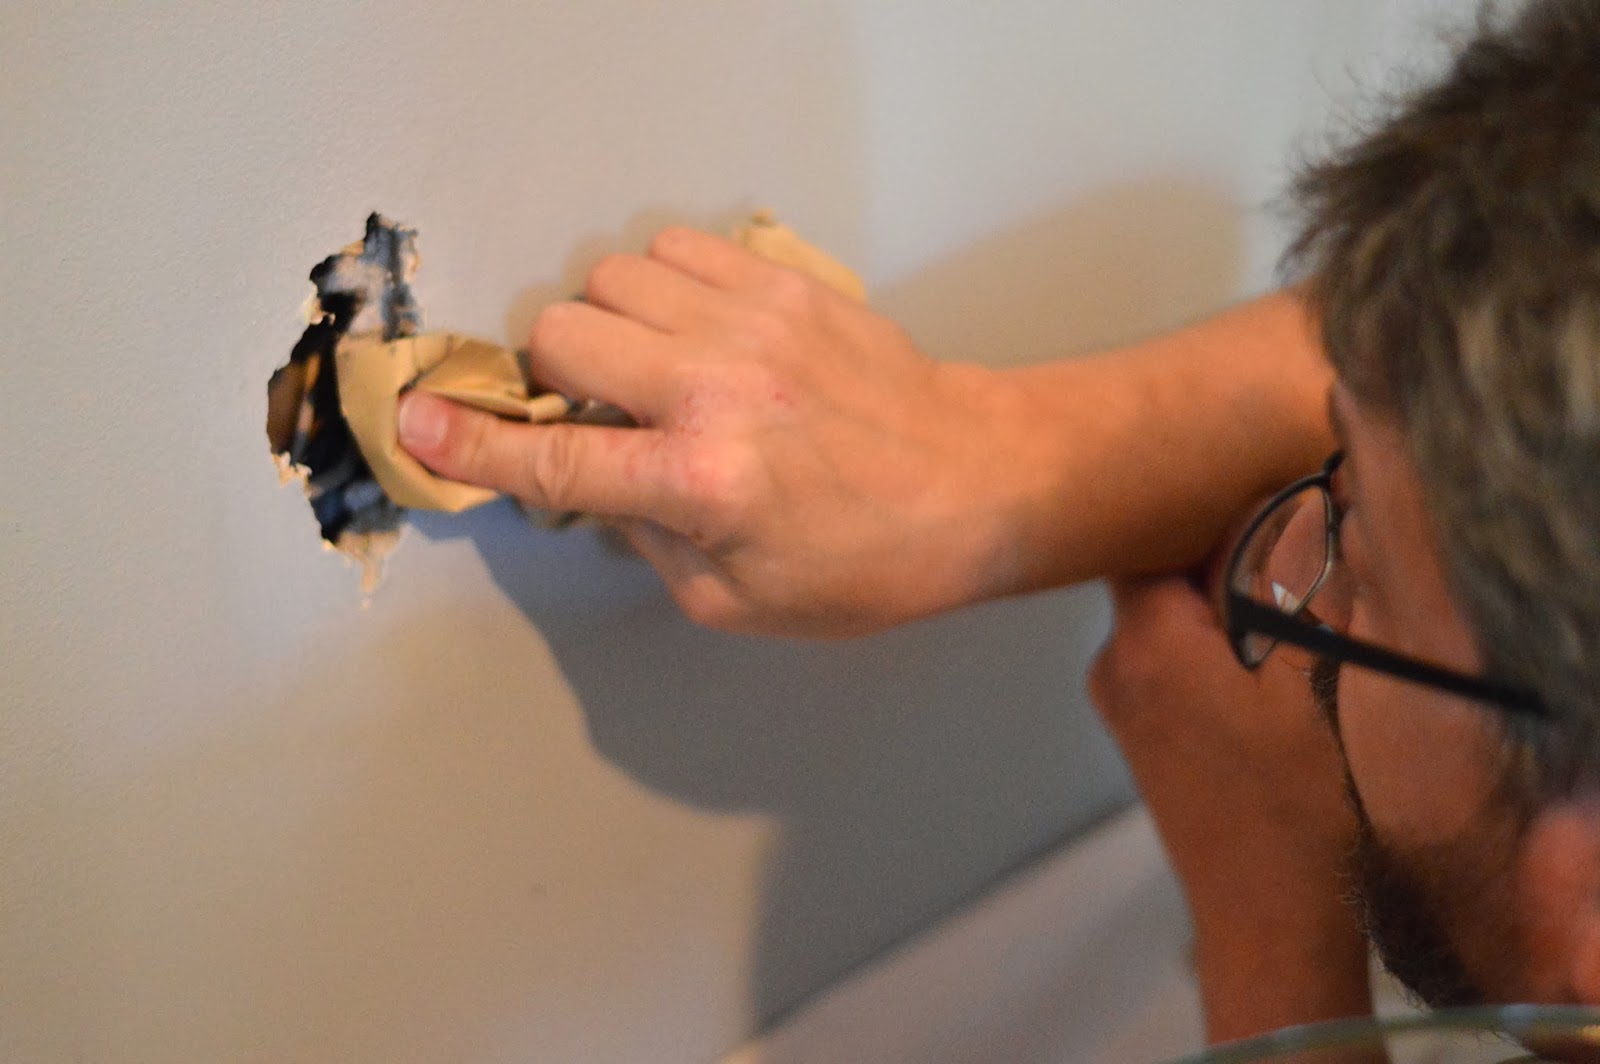
Well, it was a mess. The screws holding the wall mount into the wall had stripped, and it was hanging by the phone line cords. For the longest time, since the dining room table blocked the view of the jack for the most part, we held it in place with painter’s tape (see above) and left it well enough alone. When I came home a few weeks ago and discovered my dear wife had reversed the polarity of the living and dining areas, however, it was clear that the old ugly hanging phone jack mount’s days were numbered. Since we still have no intention of having a landline phone (and the jack in the kitchen is less than 8 feet away), the best solution we came up with was to simply patch over the wall jack entirely.

The first step was to remove the wall mount and tape off the wires. The wires were held to the wall mount by screw clips, so removing them was a cinch. The next question was, would it suffice to simply tape off the wires or would we need to cap them first? I called my dad (a man with decades of expertise in home improvement and electrical work), and he told us that since phone wires are low-voltage, it would be sufficient to just tape them off. So I took some electrical tape and taped over each bare wire end, and then separately taped the wire ends to the main wire, keeping them separated from each other with lots of electrical tape. That being done, I tucked the whole mess into the bracket set into the wall. It was pretty ugly, but then again nobody will probably be seeing it again, so who cares?
Step two was preparing the hole to be patched. That involved sanding off the rough spots along the hole in the wall and evening out the opening. Evidently the prior owners had used a lot of some kind of putty in a poor attempt to hold the wall mount in place (they failed miserably), so a lot of that hard putty had to be pried out and thrown away. I then sanded around the hole in preparation to apply the patch. I did all the sanding by hand, which was hard work, but it went quickly enough.

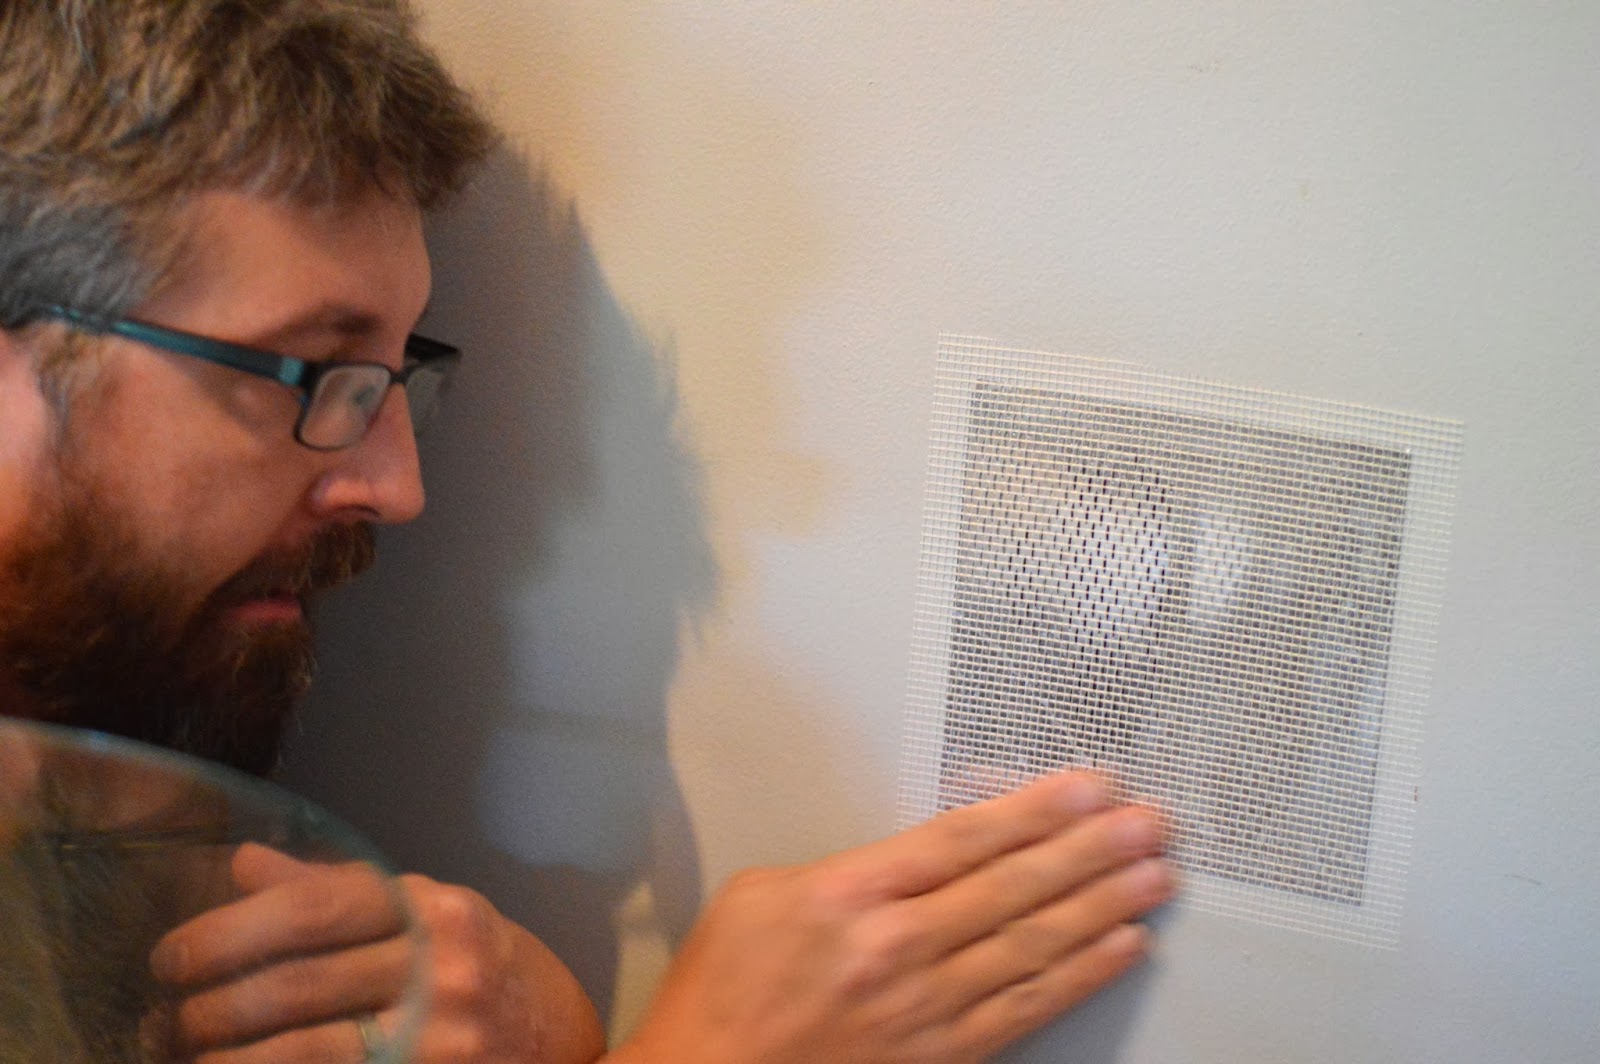
Step three was applying the patch. It really couldn’t be much easier. I simply took the sheet of patch, removed the contact paper covering the adhesive side, and stuck it to the wall. Afterwards, I smoothed out the patch with my hand to make sure there was full contact with the wall.


Step four was covering over the patch with joint compound. The joint compound required a little bit of prep (some stirring with a paint stick), but after that it was smooth sailing – I applied two coats of the compound, covering the entire patch and smoothing it into the surrounding wall. I allowed a day between coats for the compound to dry, and sanded after each coat to ensure a smooth surface.

Step five was a quick single coat of interior primer, to cover over the compound and the areas on the surrounding wall that got hit with the sandpaper. Since it was a small area, I simply used a 2″ angled paint brush to apply it.

And finally, step six – applying the regular paint. My wife took care of that while I was at work, but you can tell that she did a great job…

And voila – the gaping hole in the wall with a phone jack hanging out of it has vanished like magic! And I can assure you that I am neither a magician nor a home improvement guru. If I can do it… you can!
This is a post from Pies and Puggles. Republishing this article in full or in part is a violation of copyright law. And it isn’t nice. © 2010-2013, all rights reserved.